Why It's Easier to Succeed With Github Than You Might Think
Plus Commands every Developer must know

GitHub is a popular piece of software that is commonly used for version control. It comes in handy when more than one person is working on a project.
Assume a software development team wants to build a website and everyone needs to update the code while working on the project simultaneously.
It can also be used to save versions of code as you progress, imagine the more common use case that you save your MS Word document as you progress with your 1000 word essay in school but on a cloud where you can download and continue editing from anywhere.
Imagine the scenario, your computer blows up and your manager holds you accountable for the loss of data. However, luckily you push your code and keep your own repositories as backup and you are able to restore your code easily and instantaneously.

Step 1 : Create a local git repository
To begin, open a terminal and use the cd (change directory) command to navigate to the location on your local machine where you want to save the project. If you have a 'projects' folder on your desktop, you might do something like:
/* create directory and go into folder called myproject */
dee:Desktop dee$ cd ~/Desktop
dee:Desktop dee$ mkdir myproject
dee:Desktop dee$ cd myproject/
Step 2 : Add a new file to the repo
Use any text editor or run a touch command to add a new file to the project. 'touch newfile.txt' simply creates and saves a file called newfile.txt.
When you add or modify files in a git repo folder, git detects that the file already exists in the repo. git, on the other hand, will not track the file unless you explicitly tell it to. Git only saves/manages changes to files it tracks, so we'll need to run a command to confirm that we want git to track our new file.
dee:myproject dee$ touch dee.txt
dee:myproject dee$ ls
dee.txt
After creating the new file, you can use the git status command to see which files git knows exist.
dee:myproject dee$ git status
On branch master

Initial commit

Untracked files:
  (use "git add <file>..." to include in what will be committed)

  dee.txt

nothing added to commit but untracked files present (use "git add" to track)
Step 3: Add a file to the staging environment
Add a file to the staging environment using the git add command.
If you rerun the git status command, you'll see that git has added the file to the staging environment (notice the "Changes to be committed" line).
To reiterate, the file has not yet been added to a commit, but it's about to be.
dee:myproject dee$ git status
On branch master

Initial commit

Changes to be committed:
  (use "git rm --cached <file>..." to unstage)

    new file:   dee.txt
Step 4: Create a commit
Leave your commitment issues at the door, it's time for your first commit!

Run the command git commit -m "Your message about the commit"
dee:myproject dee$ git commit -m "This is my first commit!"
[master (root-commit) b345d9a] This is my first commit!
 1 file changed, 1 insertion(+)
 create mode 100644 dee.txt
Congratulations! You just made your first git commit!
easy right? Let's continue
Step 5: Create a new Branch
Let's try something a little more advanced now that you've made a new commit.
Assume you want to add a new feature but are concerned about making changes to the main project while doing so. Git branches come into play here.
Branches allow you to switch between different 'states' of a project. The official git documentation defines branches as follows: 'A branch in Git is simply a lightweight movable pointer to one of these commits.' For example, if you want to add a new page to your website, you can do so by creating a new branch separate from the rest of the project. When you're finished with the page, you can merge your changes from your branch into the master branch.
dee:myproject dee$ git branch
  master
* my-new-branch
The branch name with the asterisk next to it indicates which branch you're on at that given time.
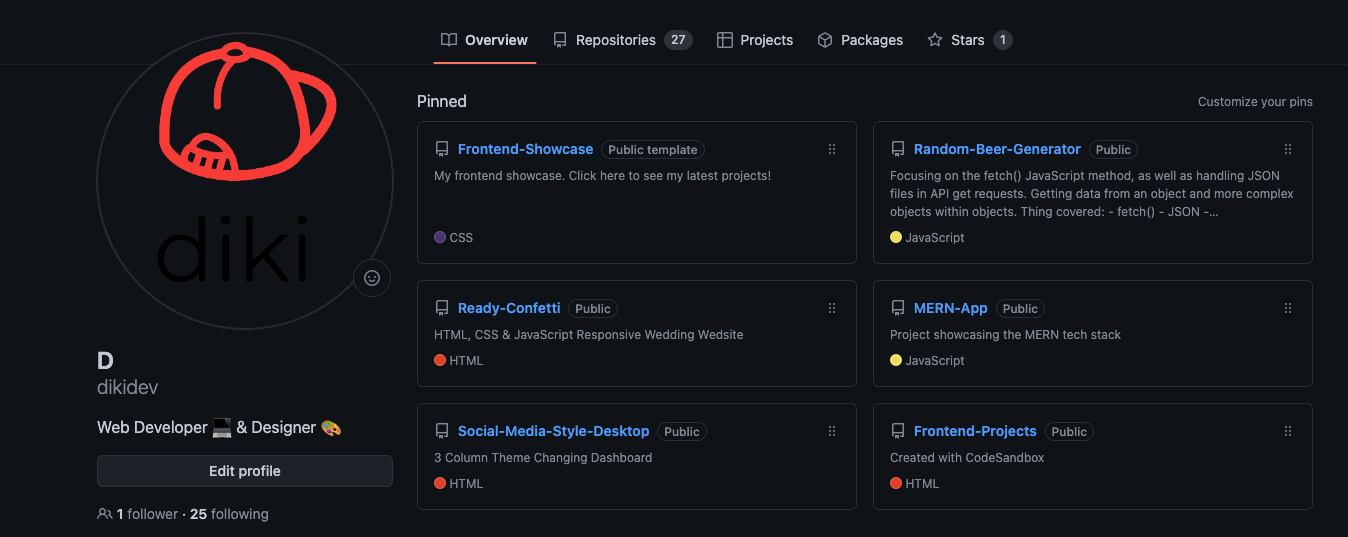
Get on Github
I am going to go ahead and assume you already have a registered Github account & You should be looking at something like this. Go ahead and add your image or logo, some more personal information and let's go!
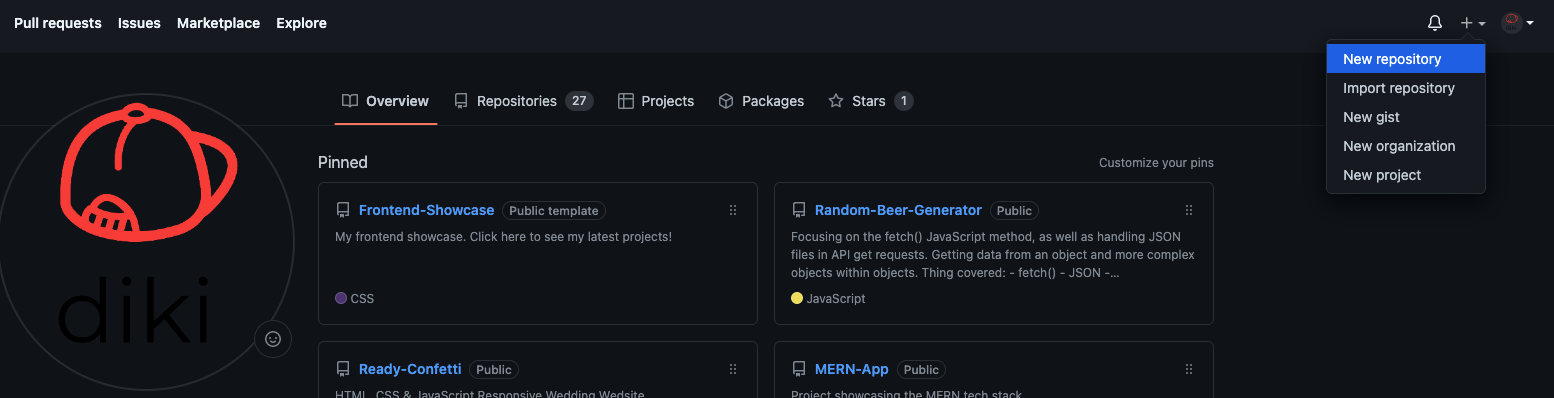
Step 6: Create new Github repo
To create a new repo on GitHub, log in and go to the GitHub home page. You can find the “New repository” option under the “+” sign next to your profile picture, in the top right corner of the navbar:
After clicking the button, GitHub will ask you to name your repo and provide a brief description:
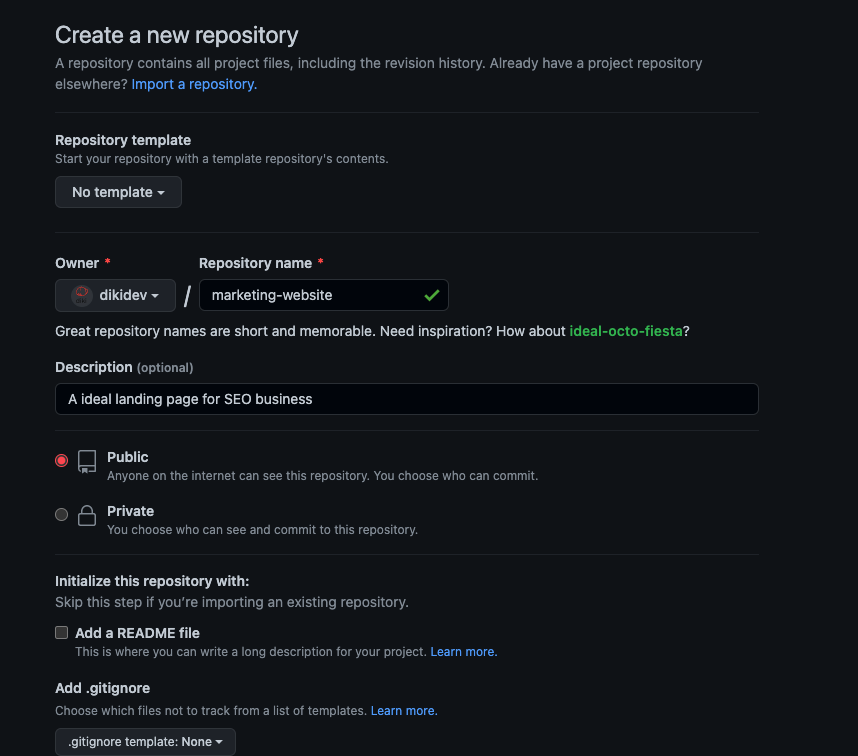
When you're finished filling out the form, click the 'Create repository' button to create your new repository.
GitHub will ask if you want to start from scratch or add a repo you've already created locally. In this case, since we've already created a new repo locally, we'd like to push it to GitHub, so proceed as follows: '....or push an existing repository from the command line'
dee:myproject dee$ git remote add origin https://github.com/cubeton/mynewrepository.git
dee:myproject dee$ git push -u origin master
Counting objects: 3, done.
Writing objects: 100% (3/3), 263 bytes | 0 bytes/s, done.
Total 3 (delta 0), reused 0 (delta 0)
To https://github.com/cubeton/mynewrepository.git
 * [new branch]      master -> master
Branch master set up to track remote branch master from origin.
Step 7 : Push branch on to Github
We'll now push your branch's commit to your new GitHub repo. This enables others to see the changes you've made. The changes can then be merged into the primary branch if they are approved by the repository's owner.
To commit changes to a new branch on GitHub, type git push origin yourbranchname. GitHub will automatically create the branch on the remote repository for you:
dee:myproject dee$ git push origin my-new-branch
Counting objects: 3, done.
Delta compression using up to 8 threads.
Compressing objects: 100% (2/2), done.
Writing objects: 100% (3/3), 313 bytes | 0 bytes/s, done.
Total 3 (delta 0), reused 0 (delta 0)
To https://github.com/cubeton/mynewrepository.git
 * [new branch]      my-new-branch -> my-new-branch
Step 8 : Bask in all your glory!
Sit back, have another cup of coffee and enjoy the satisfaction of knowing that you have mastered the art of version control commands and software for your code.