


Table of contents


No headings in the article.
Beginners often build a to-do app when learning a new programming language because it's simple yet practical, utilizing fundamental programming concepts. It also offers an opportunity to learn about UI design, data storage, manipulation, and interactivity, and helps develop problem-solving, debugging, and testing skills.

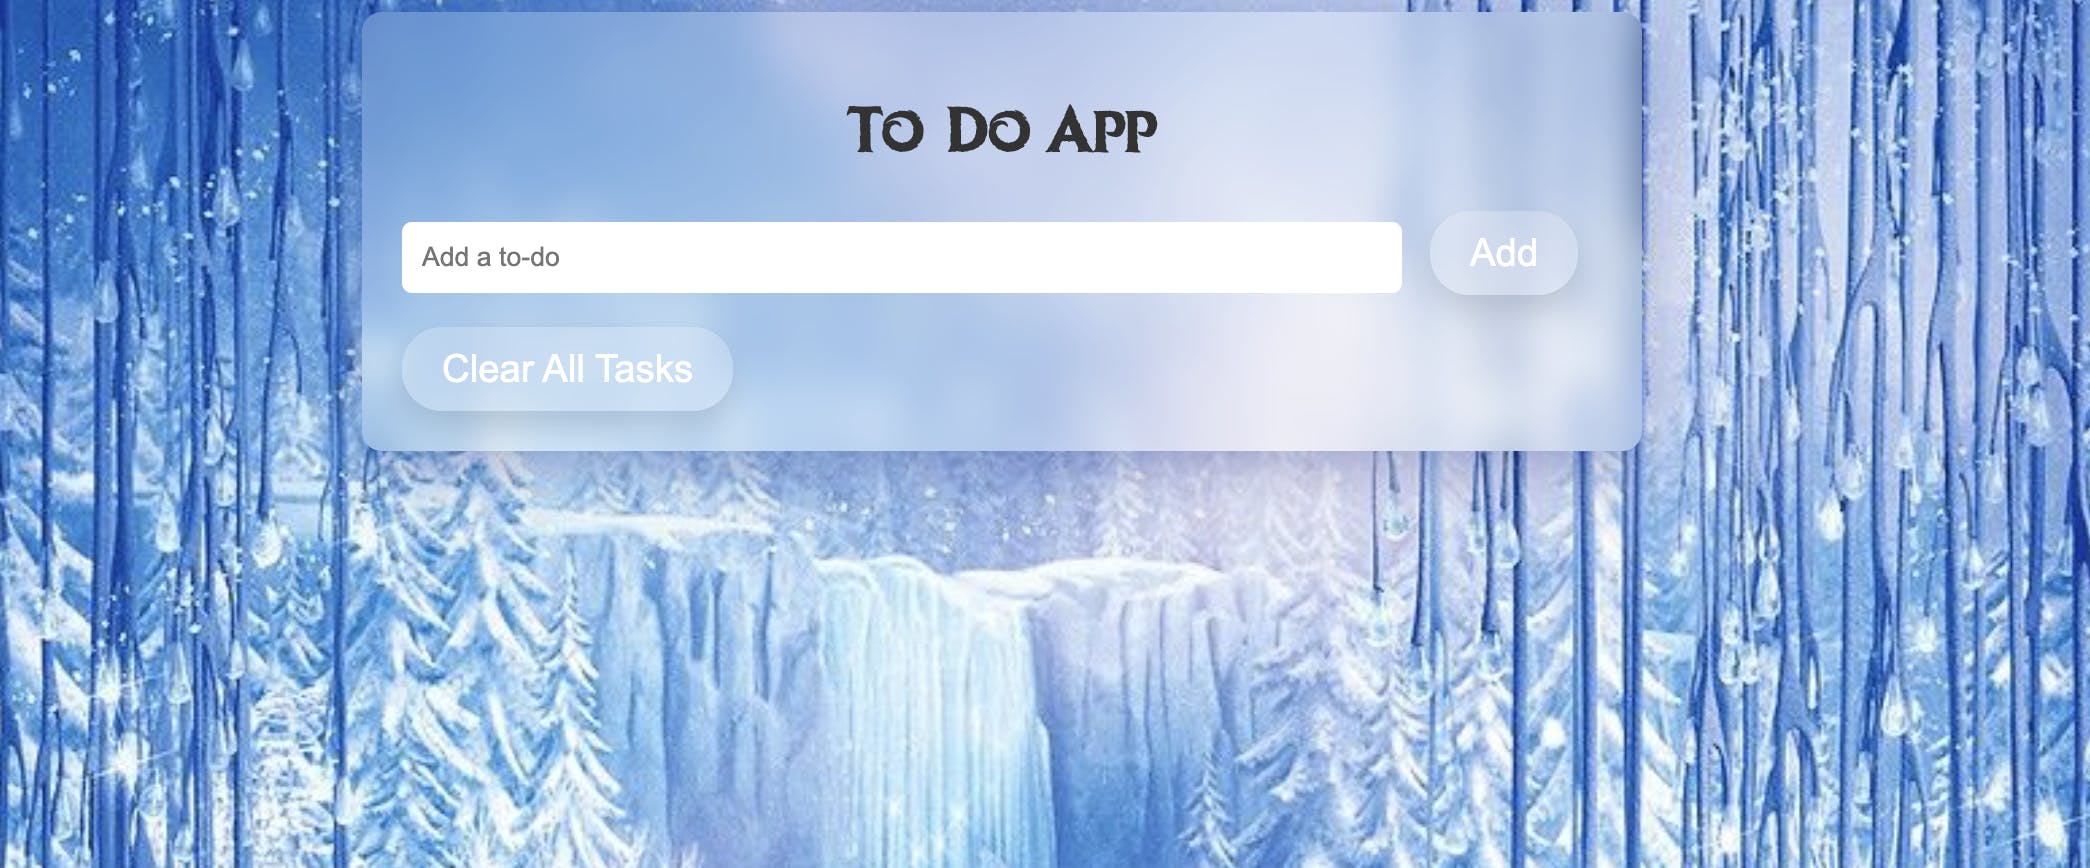
What will we be creating? Check this out!
The intention of this to-do list is to acquire and refine your expertise in vanilla JavaScript. While the HTML, CSS, and JavaScript code will be supplied, the emphasis will be on comprehensively clarifying the JavaScript code, considering that you already possess proficiency in HTML and CSS before delving into javascript.
So, let's get started building this thang! ❄️❄️
via GIPHY ❄️❄️
1. HTML ❄️
This code creates a simple to-do application with an input field, an "Add" button, a list of to-do items, and a "Clear All Tasks" button. The user can enter a task in the input field and click the "Add" button to add it to the list of to-do items. The list is displayed as an unordered list (<ul>), and each item will be added as a list item (<li>) within it. When the user clicks on the "Clear All Tasks" button, all the to-do items will be removed from the list. The container div is used to group all of the elements and apply to style with CSS. The h1 element provides a heading for the to-do application.

<div class="container">
  <h1>To-Do App</h1>
  <input type="text" id="input" placeholder="Add a to-do">
  <button id="addButton">Add</button>

  <ul id="toDoList"></ul>
  <button id="clearButton" class="clear">Clear All Tasks</button>
</div>
- CSS ❄️❄️
The CSS code provides styling for a to-do list app interface. It sets a background image, font-face, and a container for the to-do list with various styles such as background color, padding, and border-radius. It also styles the header, text input, buttons, and list items with their respective properties such as font-family, color, and transitions. Additionally, it defines styles for the animation that plays when a to-do item is completed.
body {
  background-image: url("https://i.pinimg.com/originals/33/05/1d/33051d4fa08873c2ce0e7bfc27b822a0.jpg");
  background-size: cover;
  background-repeat: no-repeat;
  background-attachment: fixed;
  background-color: #f5f5f5;
}

@font-face {
  font-family: "frozen";
  src: url("https://s3-us-west-2.amazonaws.com/s.cdpn.io/209981/Ice%20kingdom%20-%20Bold%20-%20Por%20Kustren.woff");
}

.container {
  background-color: rgba(255, 255, 255, 0.2);
  backdrop-filter: blur(10px);
  border-radius: 10px;
  box-shadow: 0 8px 32px 0 rgba(31, 38, 135, 0.37);
  color: #fff;
  padding: 20px;
  width: 80%;
  max-width: 600px;
  margin: 0 auto;
}

h1 {
  text-align: center;
  color: #333;
  font-family: "frozen", serif;
}

#toDoList li {
  font-family: "Roboto", sans-serif;
}

input[type="text"] {
  width: 80%;
  padding: 10px;
  margin-right: 10px;
  border-radius: 5px;
  border: none;
}

button {
  padding: 10px;
  border-radius: 5px;
  border: none;
  background-color: #4caf50;
  color: #fff;
  cursor: pointer;
}

#addButton,
#clearButton {
  background-color: rgba(255, 255, 255, 0.2);
  border: none;
  border-radius: 20px;
  box-shadow: 0px 8px 15px rgba(0, 0, 0, 0.1);
  color: #fff;
  cursor: pointer;
  font-size: 1.2rem;
  padding: 10px 20px;
  transition: all 0.3s ease;
}

#addButton:hover,
#clearButton:hover {
  background: linear-gradient(to right, #0066ff, #33ccff);
  box-shadow: 0px 15px 20px rgba(0, 0, 0, 0.3);
  transform: translateY(-3px);
}

#addButton:active,
#clearButton:active {
  background: linear-gradient(to right, #0066ff, #33ccff);
  box-shadow: 0px 5px 10px rgba(0, 0, 0, 0.3);
  transform: translateY(3px);
}

.editButton {
  background: rgba(255, 255, 255, 0.1);
  border: none;
  border-radius: 10px;
  color: #757575;
  cursor: pointer;
  font-size: 0.5em;
  margin-left: 10px;
  padding: 5px 10px;
  text-align: center;
  transition: background 0.3s ease-in-out;
  box-shadow: 0px 0px 10px rgba(255, 255, 255, 0.2),
    0px 0px 20px rgba(255, 255, 255, 0.1),
    0px 0px 30px rgba(255, 255, 255, 0.05),
    0px 0px 40px rgba(255, 255, 255, 0.01);
}

.editButton:hover {
  background: rgba(255, 255, 255, 0.2);
}

ul {
  list-style: none;
  padding: 0;
}

li {
  display: flex;
  align-items: center;
  margin: 10px 0;
  font-size: 18px;
}

li.completed {
  text-decoration: line-through;
  color: #ccc;
}

@keyframes clap {
  0% {
    transform: scale(1);
  }
  50% {
    transform: scale(1.5);
  }
  100% {
    transform: scale(1);
  }
}

/* .clap {
  animation: clap 0.5s;
} */
3. JavaScript ❄️❄️❄️
The JavaScript code creates event listeners for an "add" button that creates a to-do item with a checkbox, text from an input field, and an "edit" button. Clicking the checkbox triggers an animation and marks the item as completed. Clicking the "edit" button allows for editing and saving the to-do item text. There is also an event listener for a "clear" button that removes all to-do items from the list.
Here's a breakdown of the code:
const input = document.getElementById("input");: This line gets the input field element from the HTML by its ID and assigns it to a constant variable calledinput.
const addButton = document.getElementById("addButton");: This line gets the add button element from the HTML by its ID and assigns it to a constant variable calledaddButton.
const toDoList = document.getElementById("toDoList");: This line gets the to-do list element from the HTML by its ID and assigns it to a constant variable calledtoDoList.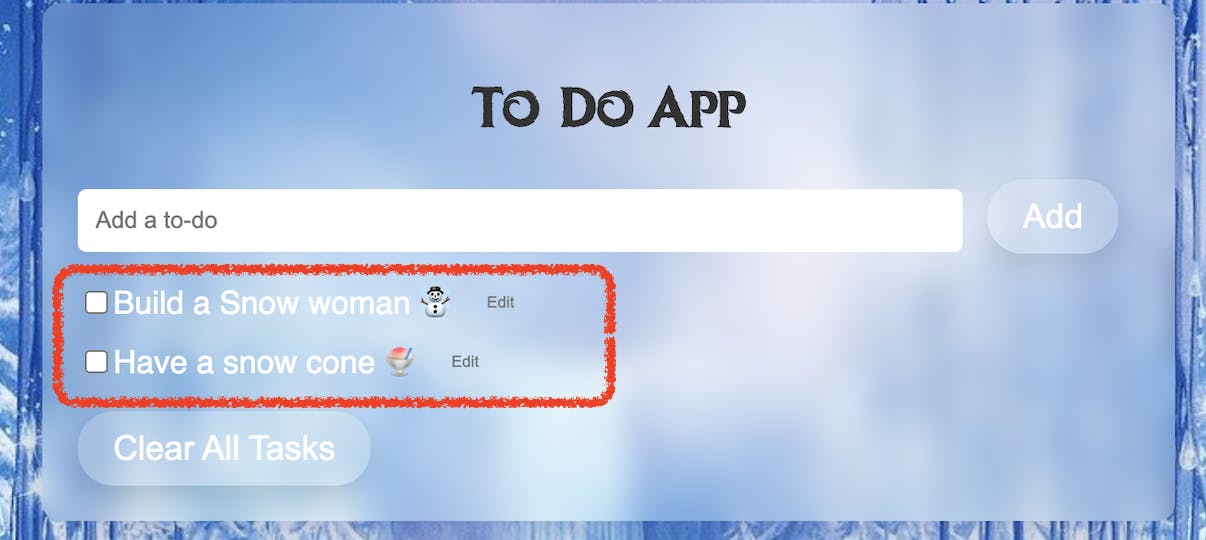
const clearButton = document.getElementById("clearButton");: This line gets the clear button element from the HTML by its ID and assigns it to a constant variable calledclearButton.
addButton.addEventListener("click", function () { ... });: This line adds an event listener to the add button element that listens for a "click" event. When the button is clicked, the function inside the curly braces is executed.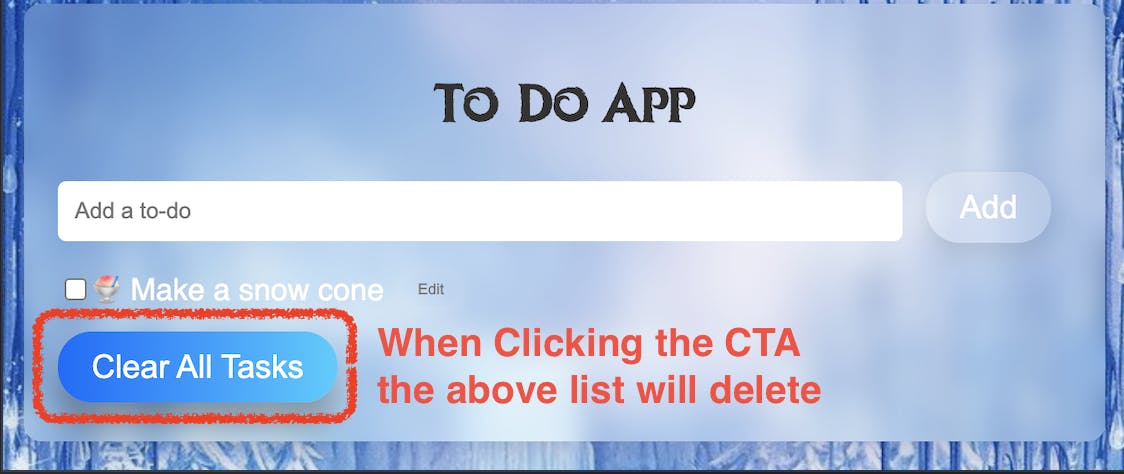
const li = document.createElement("li");: This line creates a new list item element and assigns it to a constant variable calledli.li.innerHTML = ...;: This line sets the HTML content of the new list item to a string that includes an input checkbox, the text entered in the input field, and an "edit" button.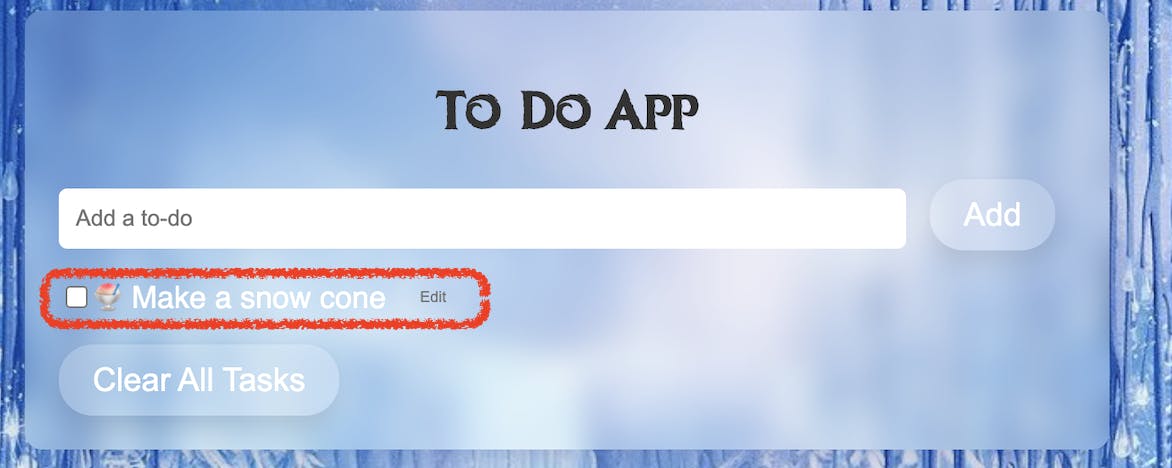
toDoList.appendChild(li);: This line appends the new list item to the to-do list element.input.value = "";: This line resets the input field to an empty string.const checkbox = li.querySelector('input[type="checkbox"]');: This line gets the checkbox element from the new list item element and assigns it to a constant variable calledcheckbox.checkbox.addEventListener("change", function () { ... });: This line adds an event listener to the checkbox element that listens for a "change" event. When the checkbox is checked or unchecked, the function inside the curly braces is executed.
const editButton = li.querySelector(".editButton");: This line gets the "edit" button element from the new list item element and assigns it to a constant variable callededitButton.editButton.addEventListener("click", function () { ... });: This line adds an event listener to the "edit" button element that listens for a "click" event. When the button is clicked, the function inside the curly braces is executed.const editInput = document.createElement("input");: This line creates a new input field element and assigns it to an input value.
and that's it, simple, right? why don't you try this out and reach out to me in the comments section. I would love to hear your suggestions and thoughts on trying to build this project.